

Why Home Grooming Matters More Than You Might Think
Cats are famously self-cleaning, but that reputation can mislead owners into thinking hands-off is best. Regular grooming at home does several things no amount of self-licking can accomplish: it distributes skin oils evenly, removes loose undercoat that drives mat formation and hairballs, and gives you a routine, up-close look at your cat's skin, ears, eyes, and nails. Catching a lump, rash, or ear infection early can make a meaningful difference in treatment outcomes.
Grooming is also a form of social bonding. In multi-cat households, cats often groom each other as a trust signal - a behavior called allogrooming. When you groom your cat calmly and consistently, you're participating in that same social language. For more on feline social dynamics, see our guide to single vs. multi-cat households.
The key variable isn't the tools you own - it's the technique and pacing you use. Rushing a reluctant cat is the single fastest way to make grooming a permanently dreaded event.
What you will need
What You'll Need Before You Start
Having the right tools on hand before you bring your cat to the grooming area reduces interruptions that can unsettle a nervous animal. Keep everything within arm's reach so you're never fumbling around mid-session.
Slicker brush or deshedding comb
Removes loose fur and prevents mat formation in both short- and long-haired cats.
Stainless steel fine-tooth comb
Works through tangles and checks for flea dirt or skin irregularities close to the skin.
Cat-specific nail clippers
Trims sharp nail tips safely; human clippers can crush the nail and cause discomfort.
Cotton pads or soft cloth
Used to gently wipe visible debris from the outer ear canal - never inserted into the canal.
High-value treats
Provides positive reinforcement immediately after - or during - each grooming step.
Non-slip mat or towel
Gives the cat stable footing on a table or countertop, reducing anxiety from slipping.
Styptic powder
Stops minor bleeding quickly if a nail is accidentally trimmed too short.
The Step-by-Step Grooming Routine
Follow these steps in order, especially for cats new to regular grooming. You don't need to complete every task in a single session - separating brushing, nail trims, and ear checks across different days is a perfectly valid approach, and often a smarter one for anxious cats.
Choose the right moment and location
Select a time when your cat is naturally calm - often 20-30 minutes after a meal. A quiet room with a closed door eliminates escape routes and outside distractions. Place a non-slip mat on a stable surface at a comfortable working height, or sit on the floor with your cat in your lap if that's where your cat already feels safe.
Spend 60-90 seconds simply petting your cat before introducing any tools. Let the cat sniff the brush before it touches fur. This brief acclimatization window makes a measurable difference in session success, particularly for cats still getting used to the routine.
Brush the coat in sections
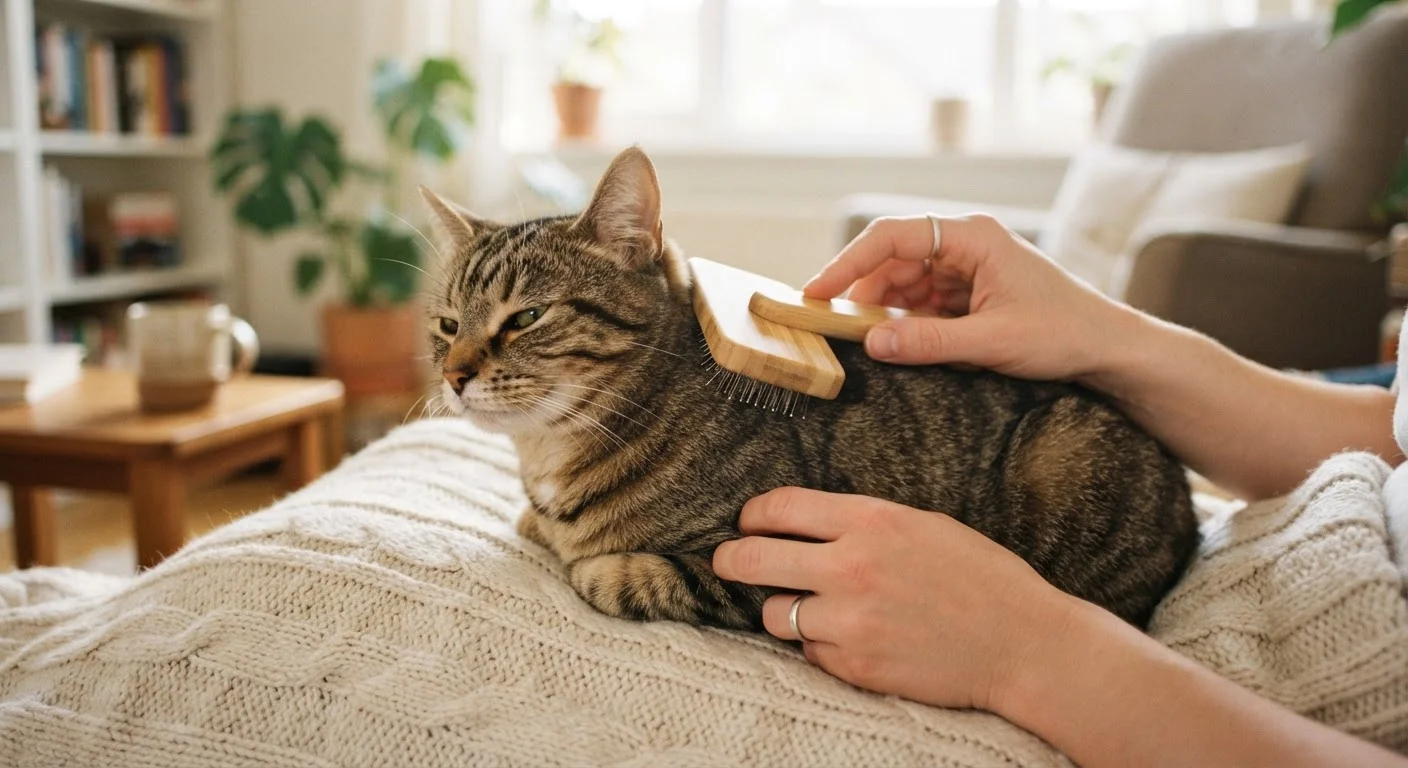
Begin at the head and work toward the tail, always brushing in the direction of hair growth. Use light, short strokes rather than long sweeping ones - less pulling means less discomfort. For long-haired cats, work through small sections at a time and hold the fur at the base to avoid tugging at the skin.
Pay particular attention to friction points: behind the ears, under the 'armpits,' and around the collar area where mats form quickly. If you hit a tangle, use your fingers or a wide-tooth comb to gently tease it apart before returning with the brush. Short-haired cats generally need brushing once or twice a week; long-haired breeds often need daily sessions.
Trim the nails
Gently press a paw pad between your thumb and forefinger to extend a single nail. Look for the quick - the pink blood vessel visible inside the nail. Clip only the translucent tip, leaving at least 2 millimeters of clearance from the quick. Release the paw, offer a treat, then move to the next nail.
There's no rule that says you must trim all ten nails in one sitting. Clipping two or three nails across multiple short sessions is entirely valid and often smarter for cats that dislike paw handling. Aim for a trim every two to three weeks to prevent overgrowth.
Check and clean the ears
Hold the ear flap gently and look inside the outer canal in good light. A healthy cat ear is pale pink, odor-free, and has minimal wax. Light brown, dry wax in small amounts is normal. Use a dry cotton pad to wipe the visible, accessible outer surface only - never insert anything into the canal itself.
What warrants a vet call: dark crumbly discharge (possible ear mites), strong odor, redness, swelling, or a cat that flinches and shakes its head frequently. These are clinical signs, not grooming problems.
End the session positively and consistently
Close every grooming session - regardless of how much you accomplished - with a treat, calm praise, and a few moments of ordinary petting. This ending sequence becomes a reliable signal that the unusual handling is over and normal life resumes, which reduces anticipatory anxiety in future sessions.
Keep a brief mental log of what went smoothly and what your cat resisted. Patterns emerge over time: a cat that consistently pulls away during ear checks may have mild discomfort worth mentioning at the next wellness exam. Weaving grooming observations into your annual vet visit preparation turns routine home care into a genuinely useful health monitoring system.
Troubleshooting Common Grooming Challenges
Cat swats or runs away: This usually signals the session has gone on too long, the pressure is too firm, or your cat is in a reactive mood. End immediately on a neutral note - not a struggle - and try again in a shorter window next time. Cats often have consistent windows of calm (post-meal or mid-afternoon) that work better than others.
Mats that won't brush out: Never cut a mat with scissors - cat skin is thinner and looser than you expect, and lacerations happen quickly. A professional groomer or your vet's office can remove stubborn mats safely. Senior cats are especially prone to matting as self-grooming becomes harder; our senior cat care guide covers how to adapt your approach for older animals.
Overgrown nails that curve into the paw pad: This is a veterinary situation, not a home trim. Call your vet's office. Similarly, any ear discharge that is dark, has an odor, or is accompanied by head shaking warrants a professional exam - see our guide to preparing for your cat's annual vet visit for what to flag during wellness appointments.
If your cat's resistance to grooming is intense and consistent rather than occasional, it's worth mentioning to your vet. Pain from arthritis, dental issues, or skin conditions can make normally tolerable handling feel genuinely uncomfortable - and that discomfort is a medical signal, not a personality flaw. For a deeper look at misread feline signals, visit our piece on persistent cat behavior myths.
The content on this site is provided for informational purposes only and should not be considered a substitute for professional advice. While we strive to provide accurate and up-to-date information, we make no guarantees regarding its completeness or accuracy. Always consult a qualified professional for advice specific to your circumstances before making any decisions.