

Why Searing Goes Wrong
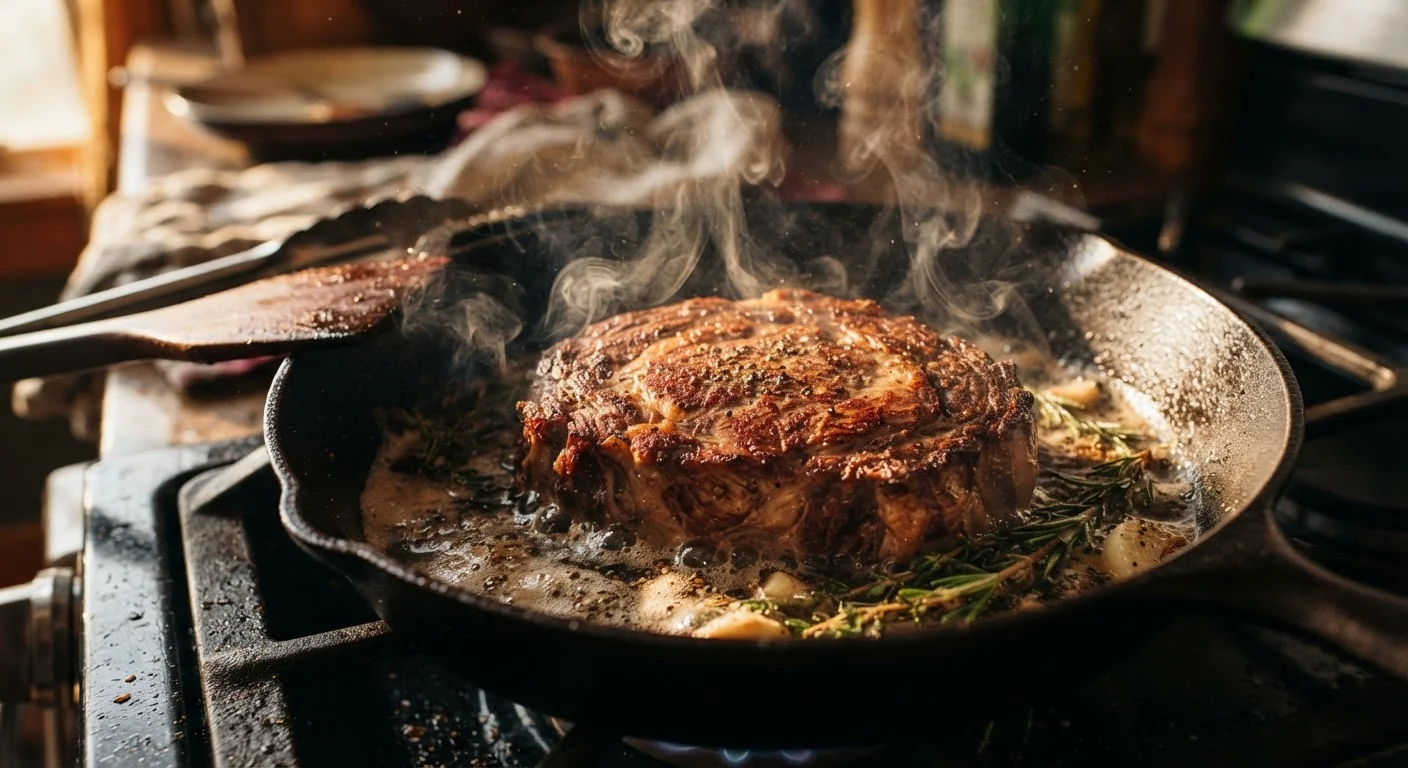
A golden-brown, flavorful crust isn't just about appearance - it's the result of a chemical process called the Maillard reaction, where heat transforms proteins and sugars on the food's surface into hundreds of new flavor compounds. When that process gets interrupted, you end up with grey, rubbery meat instead of a satisfying crust.
Most searing failures trace back to the same handful of mistakes, and every one of them is fixable once you understand what's actually happening in the pan. This is one of those kitchen fundamentals that, once you've got it, makes nearly every savory recipe more rewarding. For a broader foundation, see The Cooking Fundamentals That Make Every Recipe Easier to Follow.
Not drying the surface of the protein before it hits the pan.
Why it happens: Most raw meat and fish come packaged with surface moisture, and many cooks go straight from the package to the pan without thinking about it.
Adding food to a pan that hasn't reached the right temperature.
Why it happens: Impatience is the usual culprit - the pan looks hot, maybe the oil is shimmering slightly, and it feels like time to go.
Crowding the pan with too much food at once.
Why it happens: Cooks often try to sear everything in one batch to save time, not realizing that food releases moisture as it cooks.
Moving or pressing down on the protein before the crust has formed.
Why it happens: It's tempting to check whether the crust is developing, or to press a burger down with a spatula out of habit.
Using the wrong pan or a fat with a low smoke point.
Why it happens: Nonstick pans are convenient for everyday cooking, and olive oil is the default fat in many home kitchens - but neither is well suited for high-heat searing.
Getting the Most From Your Sear
Once you've worked through the common mistakes, a few extra habits will sharpen your results further. After searing, always rest your protein before cutting - releasing those juices prematurely undoes a lot of your effort. Why Recipes Keep Reminding You to Let Meat Rest walks through exactly what's happening inside the protein and how long to wait.
It's also worth thinking about whether a stovetop sear is always the right call. For thicker cuts, a sear-then-oven approach often produces more even doneness without sacrificing the crust. Stovetop, Oven, and Grill: Matching the Method to What You're Cooking helps you decide which approach suits what you're cooking.
280°F+
Minimum temperature for Maillard browning to begin
Food science references consistently cite temperatures above 280°F (around 140°C) as the threshold where the Maillard reaction begins producing visible browning and complex flavor.
3-4 min
Typical undisturbed sear time per side for a 1-inch steak
Culinary instructors generally recommend 3-4 minutes of contact time per side over high heat for a 1-inch cut to develop a proper crust before flipping.
Finally, if a recipe uses terms like deglaze or fond and you're not sure what they mean, don't skip them - those browned bits left in the pan after searing are packed with flavor. Reading a Recipe Without Getting Tripped Up by Cooking Terminology gives plain-language definitions for the terms that trip up everyday cooks most often.
The content on this site is provided for informational purposes only and should not be considered a substitute for professional advice. While we strive to provide accurate and up-to-date information, we make no guarantees regarding its completeness or accuracy. Always consult a qualified professional for advice specific to your circumstances before making any decisions.