

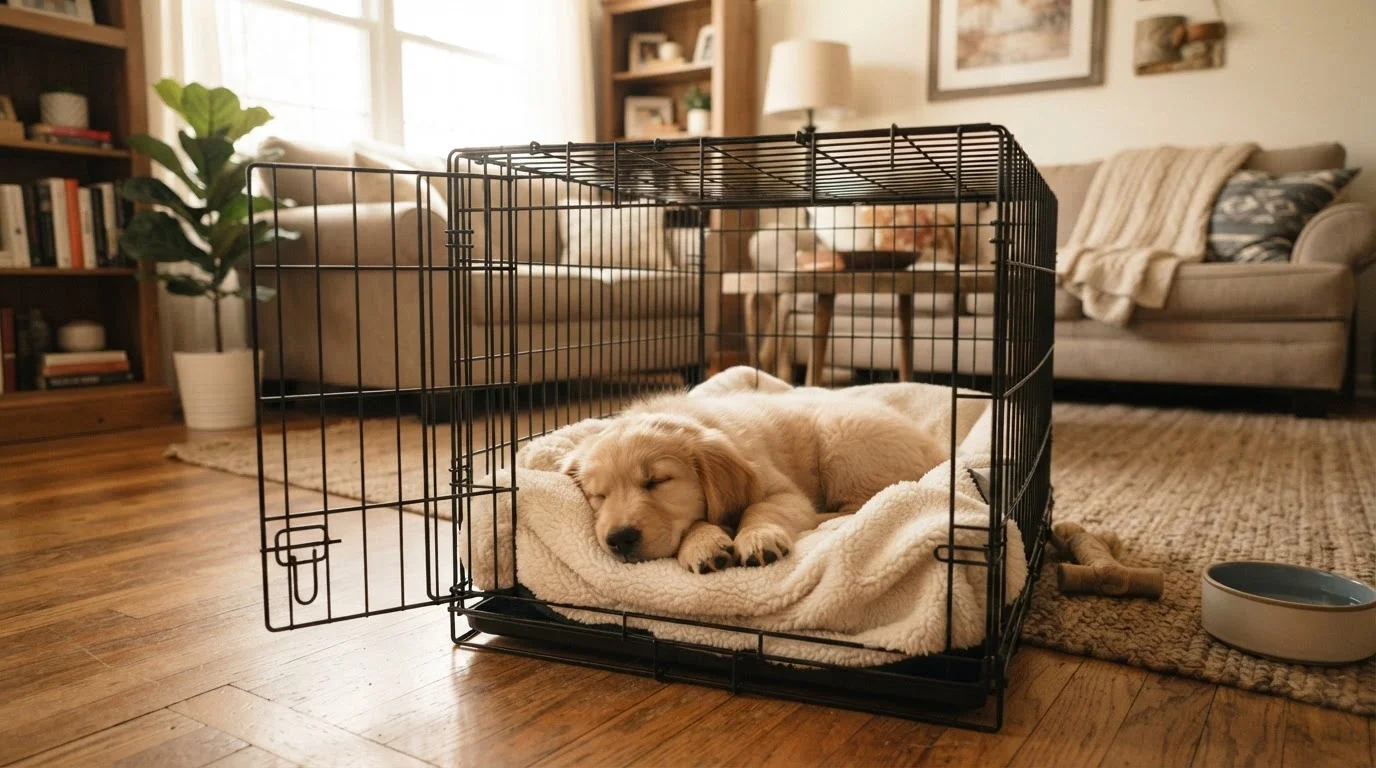
Why Crate Training Works - and Why It Can Go Wrong
Dogs are den animals by nature. A properly introduced crate taps into that instinct, giving your dog a defined, predictable space that belongs entirely to them. When done correctly, most dogs come to seek out their crate voluntarily - especially during thunderstorms, busy gatherings, or any time they feel overwhelmed.
Where crate training most often fails is pace. Owners understandably want results quickly, but rushing the process - closing the door too soon, leaving too long before the dog is ready, or using the crate after scolding - teaches the opposite of what's intended. The crate becomes associated with isolation or punishment rather than safety. As research into punishment-based training shows, aversive experiences suppress behavior without addressing its root cause and often create lasting anxiety.
The good news: with consistent, reward-based steps, most dogs - including adults adopted later in life - can learn to accept and genuinely enjoy their crate. The process below reflects the approach recommended by veterinary behaviorists and certified trainers.
What you will need
What You'll Need Before You Start
Getting the crate setup right from the start makes the training itself far easier. Size matters: a crate that's too large allows a puppy to use one corner as a toilet, which undermines housetraining. A crate that's too small causes discomfort and stress. Most wire crates come with a divider panel - use it to shrink the usable space as your puppy grows.
Placement also matters. Avoid isolating the crate in a laundry room or garage during the learning phase. Dogs are social animals, and being visually separated from the household can heighten anxiety. If you're also in the process of preparing your home for a new arrival, the puppy-proofing checklist covers crate placement alongside other room-by-room safety considerations.
Wire or plastic dog crate
Provides the enclosed, den-like space used throughout the training process.
High-value training treats
Used to reward voluntary crate entry and calm behavior inside the crate.
Crate mat or soft bedding
Makes the interior comfortable and more appealing for your dog to rest in.
Chew toy or food-stuffed puzzle toy
Provides mental engagement during early closed-door sessions to reduce restlessness.
Enzymatic cleaner
Removes odor from accidents during early training to prevent repeat soiling in the same spot.
Step-by-Step Crate Training Process
Work through these steps at your dog's pace, not a fixed calendar. Some dogs move through all stages in a week; others take three to four weeks. Progress only when your dog is clearly comfortable at the current stage - relaxed body language, no whining, willing entry.
Set Up the Crate and Let Your Dog Investigate
Place the crate in a room where your family spends time - a living room or bedroom works well. Leave the door open or removed entirely. Toss a few treats near the entrance and let your dog approach at their own pace. Do not push, lure aggressively, or place your dog inside. The goal of this phase is simply familiarity: the crate is a neutral object that sometimes has good things near it.
Repeat this several times over the first day. Some dogs walk straight in; others circle cautiously for a full day before taking a step inside. Both responses are normal.
Reward Any Voluntary Entry With Praise and Treats
Once your dog is comfortable sniffing around the crate entrance, begin tossing treats just inside the doorway. Gradually place treats deeper inside so your dog steps in further with each repetition. Mark each entry with a calm, cheerful "yes" or a clicker if you use one, then reward. Never close the door during this phase.
Keep sessions short - five minutes at most - and end while your dog is still engaged and relaxed. Several brief sessions per day are more effective than one long, frustrating attempt.
Introduce the Door - Closed Briefly, Then Opened
Once your dog enters the crate readily and shows relaxed body language (loose tail, soft eyes, no panting), begin gently closing the door for just a few seconds while your dog is inside. Open it before any sign of distress, and reward calmly. Gradually extend the time the door stays closed - a few seconds, then 15 seconds, then a minute - only progressing when your dog remains settled at the current duration.
If your dog whines or paws at the door, you've moved too fast. Return to the previous duration and build more slowly. Avoid opening the door in direct response to whining, as this can teach the dog that vocalizing is how they get out.
Build Duration While Staying in the Room
With the door latched, remain in the same room and extend crate time to five, ten, then thirty minutes. Offer a food-stuffed chew toy to keep your dog occupied. Ignore mild restlessness; reward quiet, calm resting by opening the door calmly (not excitedly, which can heighten arousal). The aim is for your dog to settle and even nap inside voluntarily.
Practice Crating When You Leave the Room
Once your dog is calm for 30 minutes with you present, begin leaving the room briefly - two minutes, then five, then fifteen. Keep departures and arrivals low-key. Avoid long, emotional goodbyes, which can heighten anxiety. Return before distress sets in, and gradually extend the absences over several days.
This stage prepares your dog for real-world absences. For guidance on managing longer alone-time as training progresses, see our guide on leaving dogs home alone.
Introduce Overnight Crating Gradually
For puppies, overnight crating should begin only after they're comfortable with 30-60 minute sessions during the day. Place the crate near your bed initially so your puppy can hear and smell you. Expect at least one overnight bathroom break for young puppies - take them out quietly and return them without play or extended interaction. Gradually move the crate to your preferred location over several weeks as confidence builds.
Crate Time Has Real Limits
Puppies younger than six months generally should not be crated for more than three to four hours at a time during the day, as they cannot hold their bladder longer than that. Adult dogs should not routinely spend more than eight hours in a crate. Chronic over-crating can cause anxiety, muscle stiffness, and behavioral problems. If your schedule requires very long absences, explore dog walkers, daycare, or a pet-safe room as alternatives.
Troubleshooting Common Setbacks
Even with a patient approach, setbacks happen. Here are the most common issues and what to do:
- Whining when the door closes: You've likely moved too fast. Drop back to very short durations (five to ten seconds) and rebuild. Do not open the door while whining is active - wait for a moment of quiet, then open.
- Refusing to enter at all: Return to Step 1 and make the crate more appealing. Try feeding every meal near or just inside the entrance for several days before asking for full entry.
- Accidents inside the crate: Check that the crate isn't too large, that bathroom breaks are frequent enough, and that the dog isn't being crated beyond their physical capacity to hold their bladder. Clean thoroughly with an enzymatic cleaner.
- Persistent distress despite slow progress: Some dogs - particularly those with a history of trauma or limited early socialization - may need support beyond standard crate training. A veterinarian or certified applied animal behaviorist can assess whether separation anxiety or another underlying issue is involved. See our guidance on dogs who missed early socialization for related context.
Make the Crate Part of Daily Life
Leave the crate set up with the door open even when you're not actively training. Dogs that can wander in and out at will on their own terms often develop a genuine preference for it as a resting spot. Feeding meals near or inside the crate accelerates positive associations without any formal training session required.
Crate training is one piece of a larger picture for new dog owners. If you're navigating the early weeks of ownership more broadly, The New Dog Owner's Complete Starting Point covers vet relationships, routines, and first-night management alongside training foundations.
The content on this site is provided for informational purposes only and should not be considered a substitute for professional advice. While we strive to provide accurate and up-to-date information, we make no guarantees regarding its completeness or accuracy. Always consult a qualified professional for advice specific to your circumstances before making any decisions.